Product Specification
| Fischer | |
| ISO 9001 : 2015 | |
| Other |
Product Descriptions
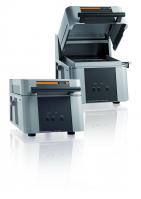
- Goldscope SD Pro:
Cost-effective entry-level X-Ray Fluorescence Measuring Instrument for fast and non-destructive Analysis and Coating Thickness Measurement of Gold and Silver Alloys
The Goldscope SD Pro is the cost-effective entry-level X-ray fluorescence measuring instrument for non-destructive analysis of jewelry, coins and precious metals.
It is particularly suited for the analysis of precious metals and their alloys in composition and coating thickness. Up to 24 elements can be determined simultaneously.
Typical fields of application are the analysis of:
- Jewelry, precious metals and dental alloys
- Yellow and white gold
- Platinum and silver
- Rhodium
- Alloys and coatings
- Multi layer coatings
Outstanding accuracy and long-term stability are characteristics of all Goldscope systems. The necessity of recalibration is dramatically reduced, saving time and effort.
The modern silicon PIN detector achieves high accuracy and good detection sensitivity.
The fundamental parameter method by FISCHER allows for the analysis of solid and liquid specimens as well as coating systems without calibration.
General Specification
Intended use Energy dispersive X-ray measuring instrument (EDXRF) to analyze precious metals and
their alloys in composition and coating thickness.
Element range Sulfur (16) to Uranium (92) – up to 24 elements simultaneously
Repeatability ≤ 1 ‰ for gold, measurement time 60 sec
Design Bench top unit with upwards opening hood
Measuring direction Bottom up
X-Ray Source
X-ray tube Tungsten tube, thermally stabilized
High voltage Three steps: 30 kV, 40 kV, 50 kV
Aperture (Collimator) O 1 mm (39 mils), optional O 2 mm (79 mils)
Measurement spot O 1.2 mm (47 mils) with aperture O 1 mm (39 mils) and flat lying sample (measurement
distance 0 mm)
X-Ray Detection
X-ray detector Silicon PIN detector with peltier cooling
Resolution (fwhm for Mn-Kα) ≤ 180 eV
Measuring distance 0 … 25 mm (0 … 1 in)
Distance compensation with patented DCM method for simplified measurements at
varying distances. For particular applications or for higher demands on accuracy an
additional calibration might be necessary.
Sample Alignment
Sample positioning Manually
Video microscope High-resolution CCD color camera for optical monitoring of the measurement location
along the primary beam axis,
Crosshairs with a calibrated scale (ruler) and spot-indicator,
Adjustable LED illumination
Zoom factor Digital 1x, 2x, 3x, 4x
Sample Stage
Design Fixed sample support
Usable sample placement area 310 x 320 mm (12.2 x 12.6 in)
Max. sample weight 13 kg (29 lb)
Max. sample height 90 mm (3.5 in)
Electrical data
Power supply AC 115 V or AC 230 V 50 / 60 Hz
Power consumption max. 120 W, without evaluation PC
Protection class IP40
Dimensions
External dimensions Width x depth x height [mm]: 403 x 588 x 365 mm, [in]: 15.9 x 23.1 x 14.4
Weight Approx. 45 kg (99 lb)
Environmental Conditions
Operating temperature 10 °C – 40 °C / 50 °F – 104 °F
Storage/Transport temperature 0 °C – 50 °C / 32 °F – 122 °F
Admissible air humidity ≤ 95 %, non-condensing
Evaluation unit
Computer WindowsR-PC
Software Standard: Fischer WinFTMR BASIC including PDMR,
Optional: Fischer WinFTMR SUPER
Standards
CE approval EN 61010
X-Ray standards DIN ISO 3497 and ASTM B 568
Approval Fully protected instrument with type approval according to the German regulations
„Deutsche Rontgenverordnung-RoV“.
- Goldscope SDD
X-Ray Fluorescence Measuring Instrument for fast and non-destructive Analysis and Coating Thickness Measurement of Gold
and Silver Alloys
The FISCHERSCOPE X-RAY XAN 220 is an optimized X-ray fluorescence
measuring instrument for non-destructive analysis of jewelry, coins and precious metals.
It is particularly suited for the analysis of precious metals and their alloys in composition and coating thickness. Up to 24 elements in the range of Chlorine (17) to
Uranium (92) can be determined simultaneously.
Typical fields of application are the analysis of:
- Jewelry, precious metals and dental alloys
- Yellow and white gold
- Platinum and silver
- Rhodium
- Alloys and coatings
- Multi layer coatings
Outstanding accuracy and long-term stability are characteristics of all
Goldscope. The necessity of recalibration is dramatically reduced, saving time and effort.
The modern silicon drift detector achieves high accuracy and good detection sensitivity. The fundamental parameter method by Fischer allows for the analysis of solid and liquid specimens as well as coating systems without calibration.
General Specification
Intended use Energy dispersive X-ray measuring instrument (EDXRF) to analyze precious metals
and their alloys in composition and coating thickness.
Element range Chlorine (17) to Uranium U (92) – up to 24 elements simultaneously
Repeatability ≤ 0,5 ‰ for gold, measurement time 60 sec
Design Bench top unit with upwards opening hood
Measurement direction From bottom to top
X-Ray Source
X-ray tube Micro focus tube with tungsten target and beryllium window
High voltage Three steps: 30 kV, 40 kV, 50 kV
Aperture (Collimator) Ø 1 mm (39 mils), optional Ø 2 mm (79 mils)
Measurement spot Aperture diameter plus 200 μm (8 mils), at measurement distance MD = 0 mm
X-Ray Detection
X-ray detector Silicon Drift Detector (SDD), peltier-cooled
Resolution (fwhm for Mn-Kα) ≤ 160 eV
Measuring distance 0 … 10 mm (0 … 0.4 in)
Distance compensation with patented DCM method for simplified measurements at
varying distances. For particular applications an additional calibration might be
necessary.
Sample Alignment
Sample positioning Manually
High-resolution CCD color camera for optical monitoring of the measurement location
along the primary beam axis,
Crosshairs with a calibrated scale (ruler) and spot-indicator,
Adjustable LED illumination of the measurement location
Zoom factor Digital 1x, 2x, 3x, 4x
Sample Stage
Design Fixed sample support
Usable sample placement area 310 x 320 mm (12.2 … 12.6 in)
Max. sample weight 2 kg (4.4 lb)
Max. sample height 90 mm (3.5 in)
Electrical Data
Power supply AC 115 V or AC 230 V 50 / 60 Hz
Power consumption max. 120 W, without evaluation PC
Protection class IP40
Dimensions
External dimensions Width x depth x height [mm]: 403 x 588 x 365 mm, [in]: 15.9 x 23.1 x 14.4
Weight approx. 45 kg (99 lb)
Environmental Conditions
Operating temperature 10 °C – 40 °C (50 °F – 104 °F)
Storage temperature 0 °C – 50 °C (32 °F – 122 °F)
Admissible air humidity ≤ 95 %, non-condensing
Evaluation Unit
Computer Windows®-PC
Software Standard: Fischer WinFTM® BASIC including PDM®
Optional: Fischer WinFTM® SUPER
Standards
CE approval EN 61010
X-Ray standards DIN ISO 3497 and ASTM B 568
Approval Individual acceptance inspection as a fully protected instrument according to the
German regulations „Deutsche Röntgenverordnung-RöV“. Type approval requested
- Goldscope SDD Pro
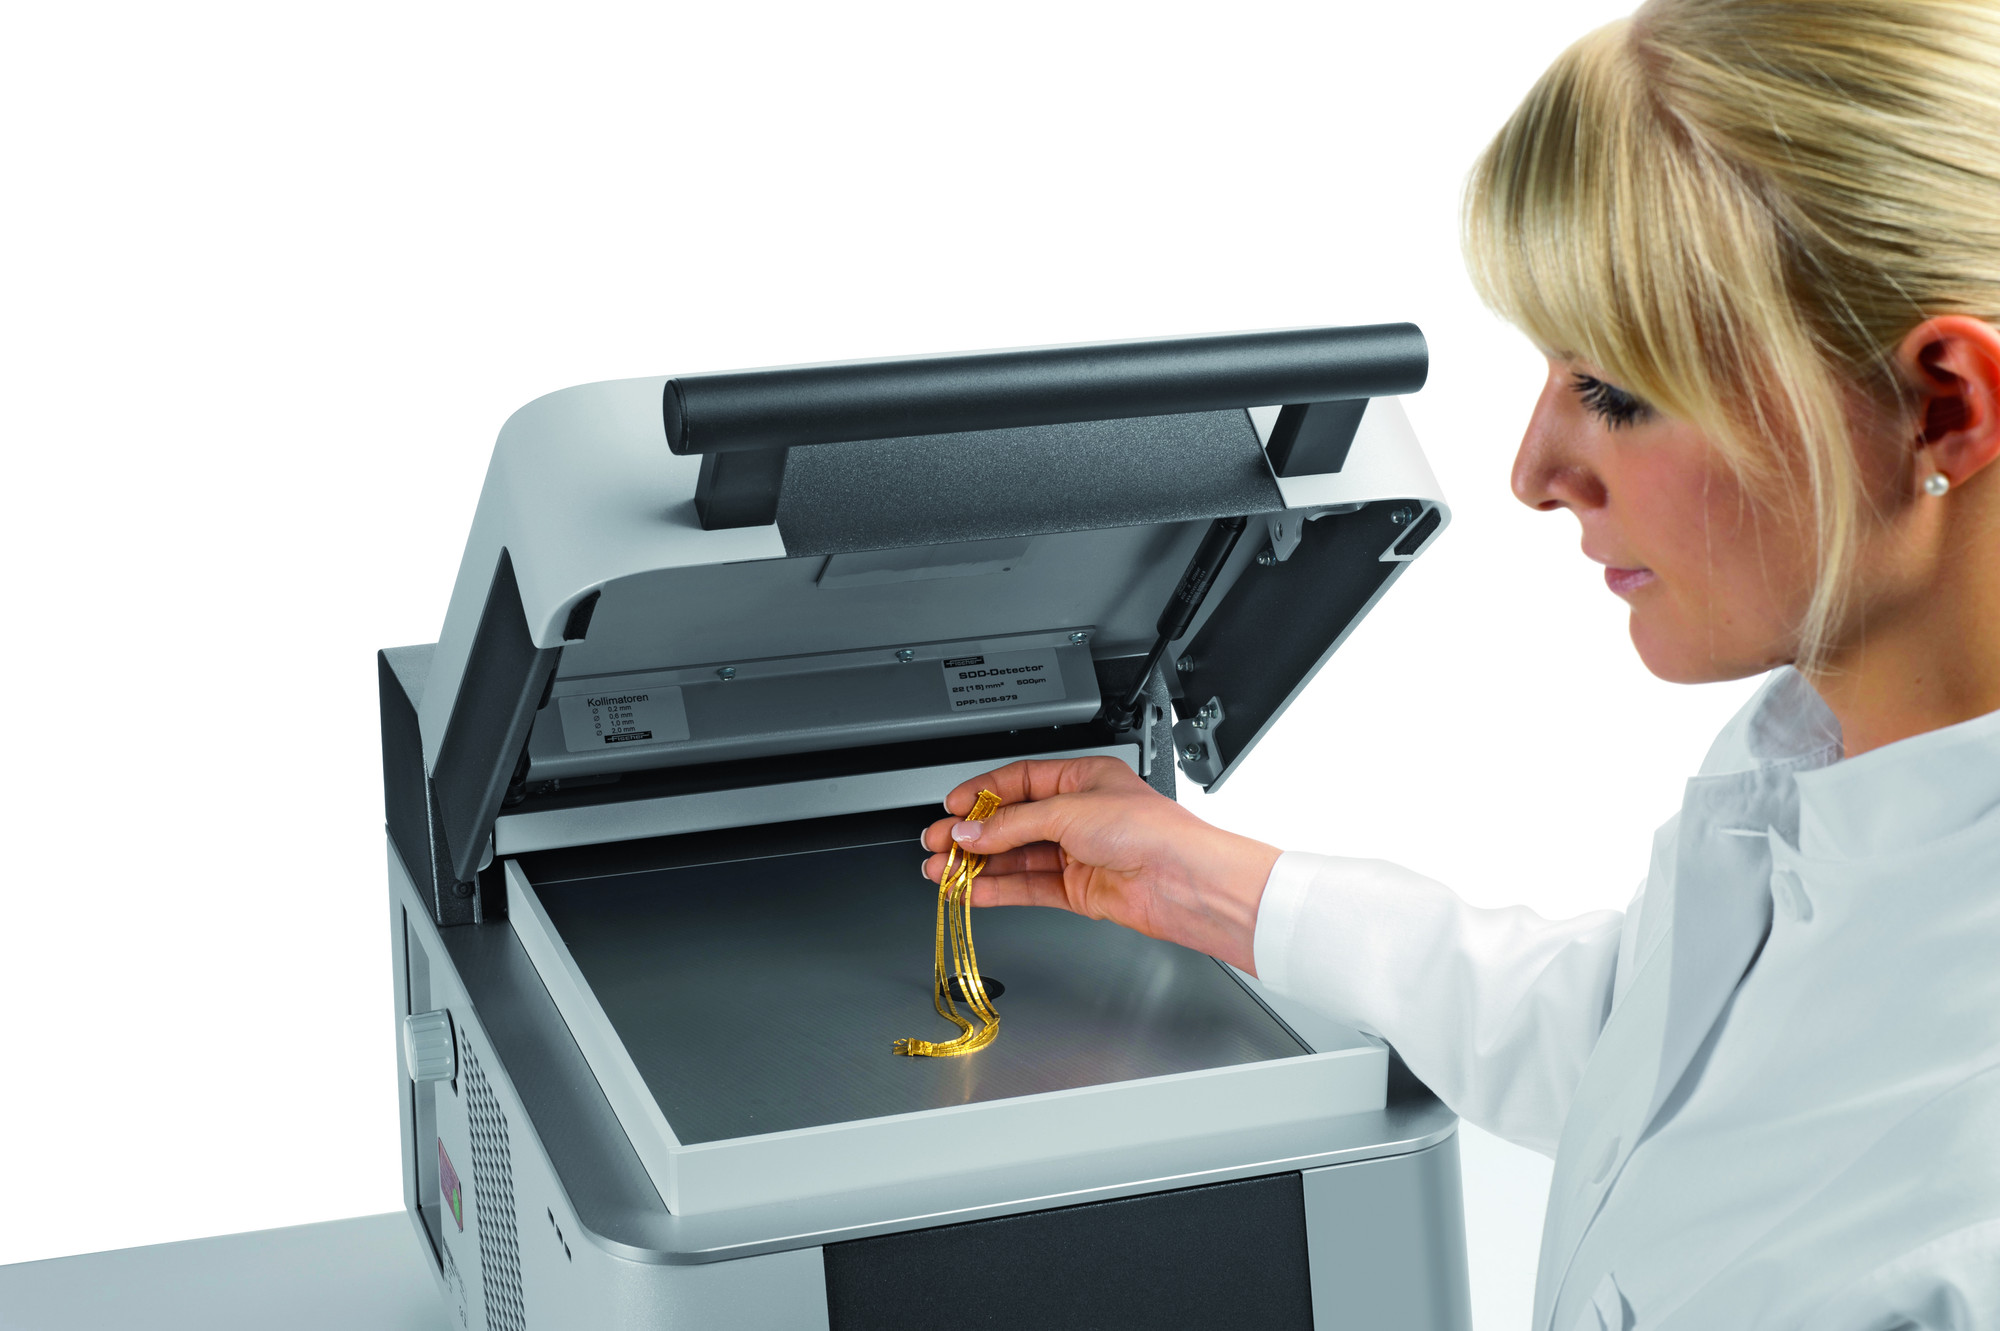
High Performance X-Ray Fluorescence Measuring Instrument for fast and non-destructive Analysis of Jewellery, Coins and Precious Metals in Hallmarking Centres, Testing Laboratory and Assaying Centre.
Features
The Goldscope SDD Pro is a high performance, Precise, compact and universally applicable x-ray measuring instrument. It is well suited for the non-destructive coating thickness measurement and material analysis. The Goldscope SDD Pro is especially well suited for measuring & analyzing thin coatings, even with very complex compositions or small concentrations.
Typical fields of application:
- Jewellery, precious metals and dental alloys
- Yellow and white gold
- Analysis of alloys with highest requirements of accuracy in the jewellery and watch industries, Metal Refineries, Assaying Centres and Hallmarking Centres.
- Platinum, Rhodium and Silver Alloys
- Alloy and Coatings
To create ideal excitation conditions for every measurement, the instrument features electrically changeable apertures and primary filters. The modern silicon drift detector achieves high accuracy and good detection sensitivity.
Outstanding accuracy and long-term stability are characteristics of all
GOLDSCOPE systems. The necessity of recalibration is dramatically reduced, saving time and effort. For high accuracy tasks calibrations can be performed at any time.
The fundamental parameter method by Fischer allows for the analysis of solid and liquid specimens as well as coating systems without calibration.
General Specification
Intended use Energy dispersive X-ray measuring instrument (EDXRF) to determine thin
coatings, trace elements and alloys
Element range Aluminum (13) to Uranium U (92) – up to 24 elements simultaneously
Design Bench top unit with upwards opening hood
Measurement direction From bottom to top
X-Ray Source
X-ray tube Micro focus tube with tungsten target and beryllium window
High voltage Three steps: 10 kV, 30 kV, 50 kV
Aperture (Collimator) 4x changeable: Ø 0.2 mm (7.9 mils), Ø 0.6 mm (23.6 mils), Ø 1 mm (39.4 mils),
Ø 2 mm (78.7 mils), others on request
Primary filter 6x changeable: Ni, free, Al 1000 μm (39.4 mils); Al 500 μm (19.7 mils); Al 100 μm
(3.9 mils); Mylar® 100 μm (3.9mils)
Measurement spot Depending on the measuring distance and on the aperture in use, the actual
measurement spot size is shown in the video image.
Smallest measurement spot: approx. Ø 0.3 mm (11.8 mils)
X-Ray Detection
X-ray detector Silicon Drift Detector (SDD), peltier-cooled
Resolution (fwhm for Mn-Kα) ≤ 160 eV
Measuring distance 0 – 25mm / 0 – 1 in
Distance compensation with patented DCM method for simplified measurements at
varying distances. For particular applications an additional calibration might be
necessary.
Sample Alignment
Sample positioning Manually
High-resolution CCD color camera for optical monitoring of the measurement location
along the primary beam axis,
Crosshairs with a calibrated scale (ruler) and spot-indicator,
Adjustable LED illumination of the measurement location
Zoom factor Digital 1x, 2x, 3x, 4x
Sample Stage
Design Fixed sample support
Usable sample placement area 310 x 320 mm (12.2 … 12.6 in)
Max. sample weight 13 kg (29 lb)
Max. sample height 90 mm (3.5 in)
Electrical Data
Power supply AC 115 V or AC 230 V 50 / 60 Hz
Power consumption max. 120 W, without evaluation PC
Protection class IP40
Dimensions
External dimensions Width x depth x height [mm]: 403 x 588 x 365 mm, [in]: 15.9 x 23.1 x 14.4
Weight approx. 45 kg (99 lb)
Environmental Conditions
Operating temperature 10 °C – 40 °C (50 °F – 104 °F)
Storage temperature 0 °C – 50 °C (32 °F – 122 °F)
Admissible air humidity ≤ 95 %, non-condensing
Evaluation Unit
Computer Windows®-PC
Software Standard: Fischer WinFTM® BASIC including PDM®
Optional: Fischer WinFTM® SUPER
Standards
CE approval EN 61010
X-Ray standards DIN ISO 3497 and ASTM B 568
Approval Individual acceptance inspection as a fully protected instrument according to the
German regulations „Deutsche Röntgenverordnung-RöV“. Type approval requested.
Order
GOLDSCOPE SDD PRO 605-687
incl. Gold Setup, Jewelry Setup and Fashion Jewellery Setup



 Safe and secure payments using Abraa safe trade systems
  \
\
